
It’s as simple as dragging and dropping files into DaVinci Resolve! All of the clips in your project are stored in the media pool in the upper left of the screen. To begin, locate the files you wish to import on your computer, drag them into the media pool, and begin editing. You may also drag whole folders with subfolders into the media pool while keeping the structure intact. The davinci resolve film is compatible with a wide range of professional video and audio file types, including H.264 and H.265 and ProRes, DNx, Blackmagic RAW, EXR, and others.

Automatically trim and tighten as needed
Trimming allows you to fine-tune your edit by adjusting the time between segments. The clever trim tool varies between ripple, roll, slip, and slide depending on the mouse pointer. This makes davinci resolve flim look quicker since you won’t have to waste time switching between cutting tools. Click anywhere inside a clip or at the boundary of a clip on the timeline, then select the trim symbol in the toolbar.
Any clip or effect setting can be animated
The cinema look davinci resolve; in the inspector in the top right of the screen, you can see the clip settings. During the clip, you may adjust or animate any setting using the diamond keyframe controls. Choose a clip to see its parameters, make modifications, click the keyframe button, move the player to a new frame, and repeat! You may also animate standard transform parameters like position, size, and rotation using the on-screen controls.
Select web, broadcast, or Cinema from the drop-down menu to send a file.
Pick quick export from the file menu for one-click access to the most common distribution methods to export your program. Quick export will render and post the completed film to your youTube, Vimeo, or frame.io accounts in one step if you submit your account credentials. Create your custom presets, which will appear in the rapid export window. Go to the Deliver page, make necessary adjustments, and save it as a new preset! cinematic effects davinci resolve can deliver records in various arrangements for the web, transmission, web streaming, and surprisingly dramatic circulation as advanced film bundles.
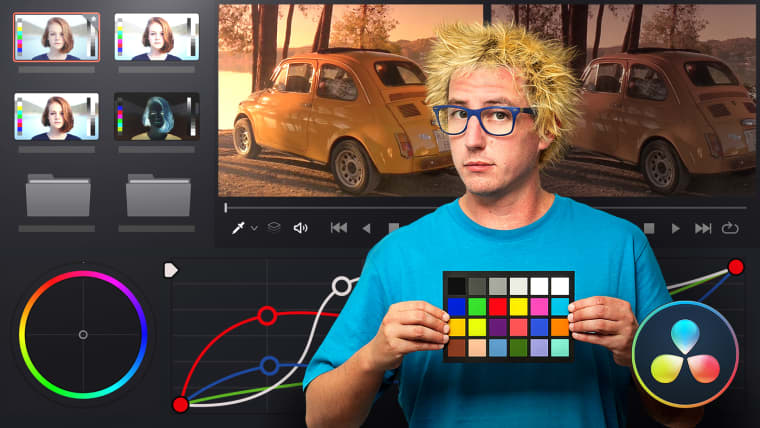
Your video clips should be normalized
Normalizing your video samples should be the initial step. To make the most of the information collected, you’ll need to adjust the contrast and saturation. This step may be completed manually, or you can utilize a technical LUT to streamline your operation.
Correct the color of your video
After you’ve normalized your footage, you’ll need to color correct the video. Make sure the video snippets areas “accurate” as feasible. The real color grading will be significantly more difficult if your exposure is poor, contrast is lacking, or white balance is incorrect.
Import video in a flash
It’s as simple as dragging and dropping files into davinci resolve! All of the clips in your project are stored in the media pool in the upper left of the screen. To begin, locate the files you wish to import on your computer, drag them into the media pool, and begin editing. You may also drag whole folders with subfolders into the media pool while keeping the structure intact.